Woodland Project Phase 2 Survey Report

Methods


The methods used in this survey were the same as those used in the initial survey, with the following modifications. (For a description of the methods used originally, please access, Initial Survey - Methods.)
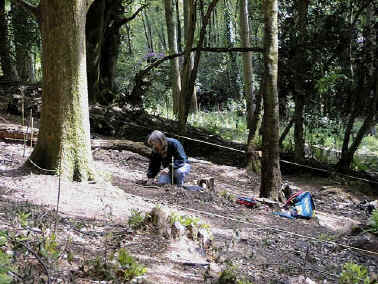
1. A 20 metre square was laid out in each of the four representative regions of the project site. The vegetation inside each of the squares was then sampled. The position of these squares did not exactly correspond to the position of the original 20m squares sampled in the initial survey, although they were within the same representative regions.

2. The height of trees in Squares 1 and 2 was measured directly using a klinometer (see Appendix A), instead of being estimated as in the original survey.

3. Ground vegetation inside the squares was sampled within 2m2 quadrats (Plate 10). Ten random quadrats were sampled inside each of the 20m squares (See Appendix B for explanation of random location of quadrats). In the original survey, it was impossible to randomly locate quadrats in Squares 1,2 & 4 due to the impenetrable nature of the undergrowth (Plate 11). They were instead located to cover as much of the area of the square as possible. With the removal of the Rhododendron undergrowth, random location of all the quadrats became possible.

wpe26.jpg (66783 bytes)

Plate 10.
Sampling the Ground Flora inside the 20m squares

4. The height, area covered and number of regenerating rhododendron stumps was measured directly inside each of the 20m squares.


wpe27.jpg (70436 bytes) 
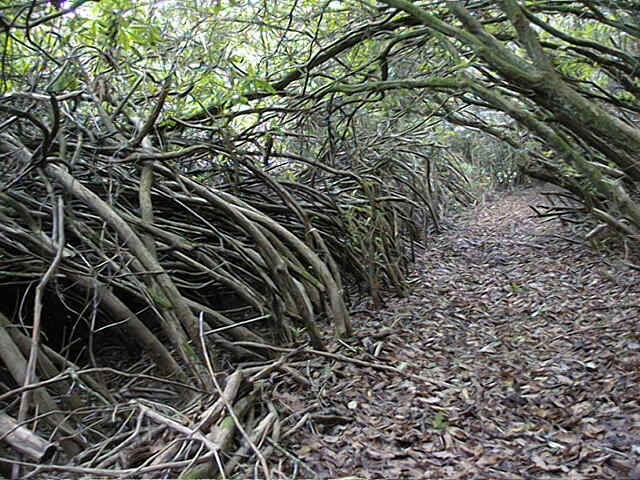
The path on the northern boundary (Plate 11) was cut out of the Rhododendron during the Pilot Project Phase, to allow access to Area 3. This image illustrates well the impenetrable nature of the Rhododendron undergrowth, particularly in the region of Area 2.

Plate 11.
The path marking the northern boundary of the Project site

ResultsWB01339_.gif (896 bytes)

Woodland Project Phase 2
CONTENTS

Summary

Introduction

Methods

Results
General   Tree Species    Rhododendron   Seedlings  Mosses

Conclusions    References

List of Tables & Illustrations
Tables   Plates   Figures